Menu
Bar
File
Menu
TerraView uses the concept of
Project
to save the state of a working session. The project file is
saved in XML format and keeps information about number of
layers added, layer style, layers classification (Legend).
Another xml file keep information about the datasources
used. This two files are saved together.
Click on File > Save
Project,
Save
Project as
or create a New
Project. The
project name
informed here is
the name of the xml file that keep information about the project.
Click on File > Open Project or
File > Recent Projects to
open an existing project (*.xml).
Click on File > Exit to close the TerraView
Application
Project
Menu
Click
on Project > Add Layer...
to add layers to the project and
choose the layer type:
-
Vector... to
choose one
file of Esri shapefile , MapInfo, GeoJSON, GML, or
KML format (only available if the corresponding plugin is loaded).
-
Raster... to
choose
one file of
image format. To choose more than one click on Ctrl+ filename
(only available if the corresponding plugin is loaded).
- Query Dataset... creates a layer defining a
restriction clause on an existing layer.
Also it is possible to
use Project
> Add
Folder Layer... and
drag some layers into this folder to
organize better the Layer Explorer. Note the mexico folder at
the example showed above. If a folder is removed, all layers
inside are
also removed.
Click on Project > Remove Layer(s) to remove the
selected layers.
Click on Project > Rename Layer to rename the selected layer.
Click on Project > Properties...
to see Title, Author, Location and Descripion
of a project.
To display something go
to Layer Explorer
and select some
layer(s) and reach (pincel). To
save the project
go to File Menu.
View Menu
Click on View Menu to set or unset
itens which will compose the Main Window.
- Data Table
- Layer Explorer
- Map Display
- Style Explorer
Usually the default
settings are Map
Display, Layer Explorer, Toolbars.
Layer
Menu
The tools in this menu
reflect operations on a selected layer. The tools are:
Operations tools:
Visualization tools:
- Fit Layer:
Will
expand the selected layer over the map display area.
-
Fit Selected Objects: Will fit all
selected objets over the map display area.
- Pan to Selected Objects: Wiil pan over the
selected objects.
Shows/Hide components
associated with selected layer.
Selection tool:
- Remove Selection: Will
remove any selection at
the map display and show all the objects displayed with the original Style
(color, mark, etc).
Spatial Reference System Tool:
Property tool:
- Properties: Will
show layer properties, including the SRID.
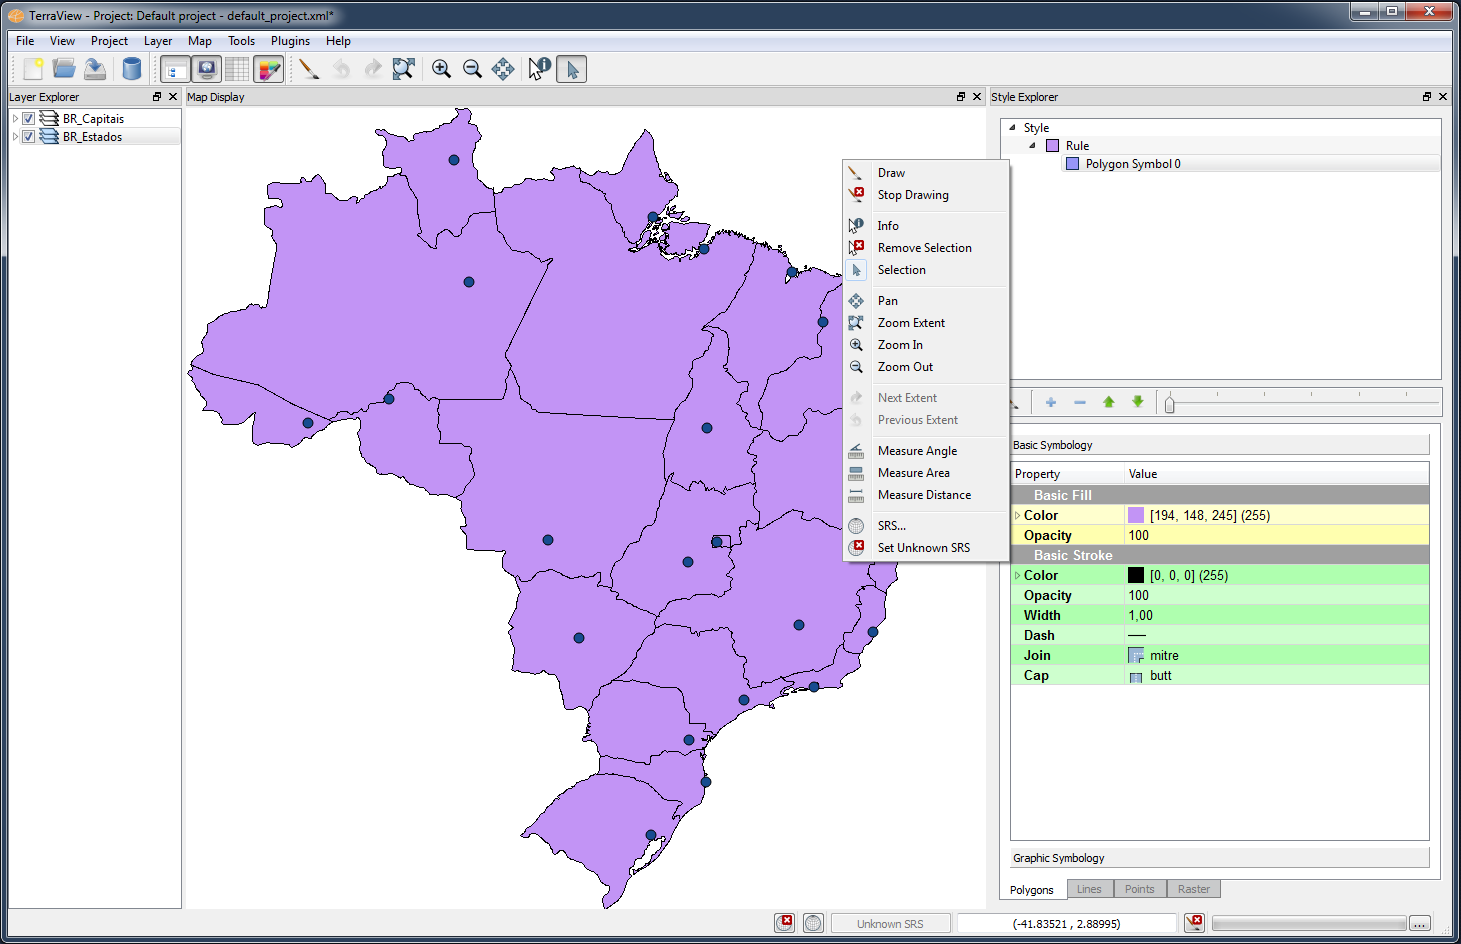
Map
Display Menu
The tools in this menu
reflect operations on the data presented on the map display or selected
in layer explorer. These
tools are:
Drawing tools:
- Draw: All layers
with box-checked in the Layer Explorer will be
draw at the Map Display.
- Stop Drawing: Stops the
drawing of layers.
Tools of selection and
information:
- Info: Show information about the
objects pointed over the layers selected
and box-checked.
- Remove Selection: Remove selection and show the
objects with the original color and style.
- Selection: Allows to highlight objects pointed
by
the cursor, or objects that intercepts the cursor-area.
NOTE: The selection tool is
valid over the selected and
box-checked layers. If the associated Table, or
some graphics like Histogram are visible, the same objects
will be also
highlighted (brushing).
Visualization and navigation
tools on the layer:
Measure Tools. This tools consider
the Map Display SRID.
Spatial Reference System Tool:
- SRS...: Allows to change the SRID of the map display.
Drawing
again will remap all layers to the chosen SRID.
- Set Unknown SRS: Allows to set the map display SRID to
unknown.
It is used to draw layers without SRID (0).
Right-Clicking
over any point over the map display shows this same menu as context
menu.
NOTE: Some tools/actions affect only the selected
and
box-checked layers, others affect all box-checked layers and others affect only the
map display.
Tools
Menu
Click on Tools
> Customize... From here it is possible to
customize
the user settings of Map Display, Table and Tool bars and Project.
Click on Tools
> Data Exchanger > Layer...
To
export a layer to a chosen format.
Click on
Tools
> Data Exchanger > Advanced... It is an advanced option to
exchange data between data sources.
Click on Tools
> Data Source
Explorer...
To explore the data sources already
used and its main information
such as connection title and connection parameters used to connect to
the data source, location of a specific vector/raster file and so on
use Data Source Explorer tool.
Plugins
Menu
From here a component called
Manage
Plugins... allows you to add, remove, load or unload plugins.
See the session
How
to
Load/Unload Plugins for
more details. Also see how to use them at Using
available Plugins session.
Help
Menu
From here the TerraView Help
manual is
accessed.